ngSkinTools.v2 launch status
Here you’ll find a summary of most important information regarding launch of next major ngSkinTools version.
- If you’re impatient to try things out, download button is down below;
- Continue reading if you want to hear the full story.
Why v2 ?
ngSkinTools has been around for quite a while. Released to public in 2012 (see twitter), it has become a widely used tool among Maya riggers. I’m so grateful for all your feedback, feature suggestions and bug reports I’ve received. It’s not easy to keep a software project alive and relevant for so many years - or stay focused on single side-project for so long. Thank you for keeping the spark alive!
For a while I’ve been wanting to introduce many major changes to ngSkinTools. Current version has reached it’s limits where introducing further improvements is impossible without throwing old things away and rewriting some things from scratch. The time came to reset, keep the essentials and say “how would it look if you designed it from scratch again?”
What will change?
Most of the changes at the time of writing are mostly internal - changing UI code, moving and rewritting huge blocks of c++ code - but now we’re getting close to rival V1 in terms of feature-completeness.
For detailed summary, see “What’s new” section in documentation. Here are the highlights of things changed/soon to come:
- Strong focus on multi-CPU support, and performance improvements in general;
- Working directly with skinCluster inputs/outputs:
- Allow working with rigs that modify mesh topology after it exits skinCluster;
- Allow working with rigs that have multiple skinClusters per mesh;
- Completely new viewport experience;
- Performance improvements for big meshes;
- Better interactivity (including the highly requested “select join in viewport”);
- Layer filters: procedural layer post-processing;
- First filter implemented: mirroring.
- API revamp - I’m trying to put more emphasis on being able to integrate ngSkinTools into automation pipeline; See import/export/transfer page for a sample;
- Some old features gone/consolidated, e.g. smooth is gone as a separate tool;
- Floating licenses to come as licensing mode;
- Slowly introducting Python 3.x support for future versions of Maya;
- Full QT-based UI;
- Incremental improvements that were not easy to incorporate with previous architecture of ngSkinTools.v1.
How much of the above is already implemented?
For now - quite some things are still missing that are in V1.
Check Roadmap for more details on the implementation progress.
Which versions of Maya will be supported?
Maya 2018 and upwards; initially testing will happen on Windows and Linux; macOS will have to wait until later.
The reason for cutting 2017 and below is because compatible compilers for older versions of Maya do not fully support C++11. Also, I’d prefer to not have to support more than 3 versions of Maya (2018, 2019, 2020) at the time of launch.
Is it ready for commercial use?
Feature completeness/stability aside, …
To start things off, the setup will be similar to v1:
- Free version will allow evaluation/educational/non-commercial use;
- Paid license is required otherwise; as with v1, subset of features will only be available with paid licenses.
Ready to try?
Download latest: 2.0.22 View all 2.0 releases
The most important thing right now is your input. Your feedback will shape the future of ngSkinTools. Let me know how our testing is going.
Some tips of things to try until I cook an overview video:
- Setup and make sure you can open UI;
- Open any of your rigs, and save as a copy - don’t risk corrupting your precious scenes!
- Init layers as in V1
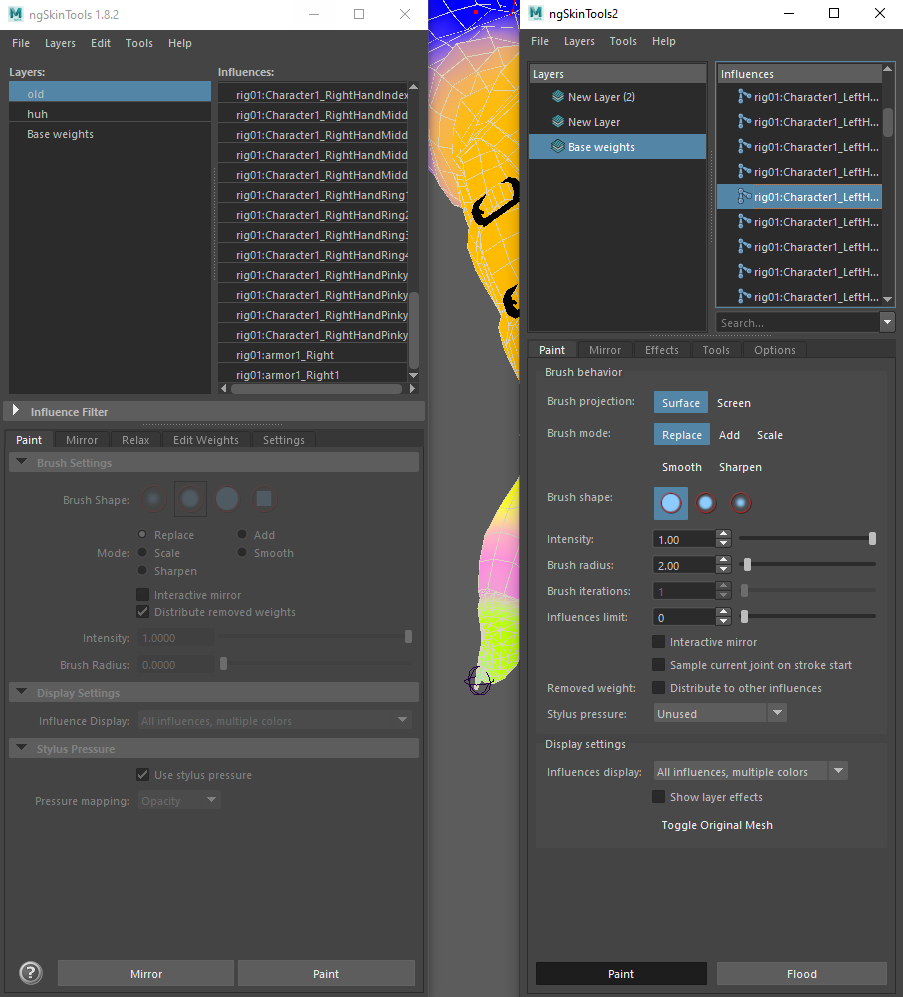
- Play around with weight painting, check out slightly changed Paint tab
- Viewport has some new/changed useful shortcuts:
- holding
S(“sample”) will select the dominant influence under the mouse; it’s based on weights, not joint position. Just holdSand drag brush over your mesh, you’ll get it. - Holding
Band dragging will help set new brush radius Shiftas usual switches to SmoothIwill open in-viewport intensity selector
- holding
- There is a new non-destructive way to mirror layer:
- Select layer to mirror,
- Paint weights on the left side (positive X axis)
- In “effects” tab mark checkboxes for elements to mirror next to “mirror effect”
- While painting, you can view resulting weights by checking/unchecking “show layer effects” in Paint tab > Display Settings group.
- Influences matching UI has changed, check it out in “Preview and edit mapping” in “Mirror” tab.
Links
- Releases
- Changelog - what’s changed in latest releases;
- Roadmap - more detailed view of done/in progress/upcomming features and bug fixes;
- User manual
- API guide
Any questions?
My contact info, as usual, is here.